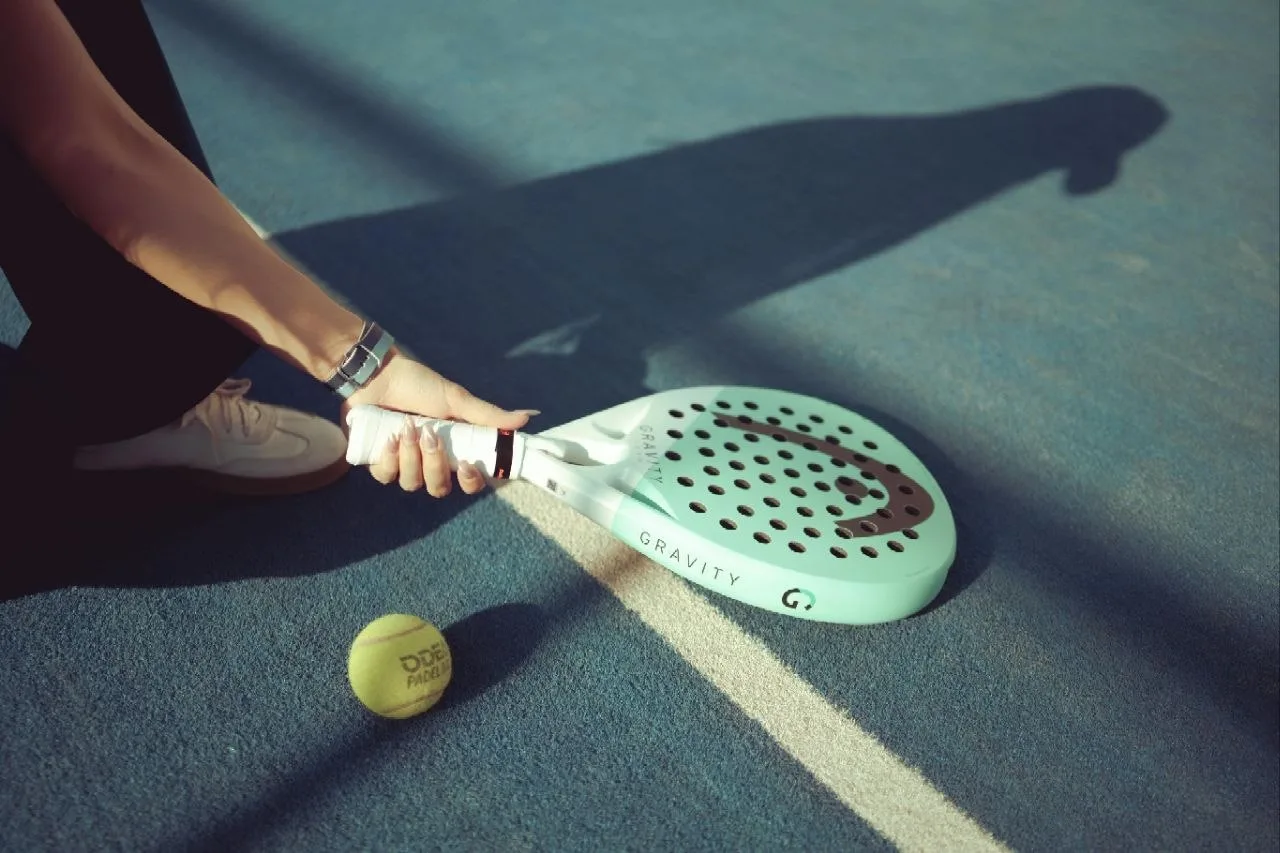
A better padel volley starts with a compact swing, a continental grip and a calmer racket face. Most club players lose the net because they swipe at the ball like a tennis groundstroke; the fix is to split-step earlier, keep the racket in front and punch through the ball with a short, controlled movement.
Quick Answer: To improve your padel volley, use a continental grip, keep the racket head above the wrist, split-step as your opponent strikes, and make a short punch rather than a backswing. Practise forehand and backhand volleys from a stable ready position first, then add low volleys, drop volleys and direction changes once the basic contact is reliable. The LTA padel guidance is a useful starting point for UK players building proper technique.
In This Article
- Why the Volley Matters More in Padel Than Tennis
- The Continental Grip: Your Volley Foundation
- Body Position and Ready Stance
- The Basic Forehand Volley
- The Basic Backhand Volley
- Common Volley Mistakes and How to Fix Them
- Advanced Volley Techniques
- Footwork Drills for Better Volleys
- Wall Drills You Can Do Alone
- Partner Drills for Match Sharpness
- Choosing a Racket That Helps Your Volley
- When to Volley vs When to Let the Ball Bounce
- Frequently Asked Questions
Why the Volley Matters More in Padel Than Tennis
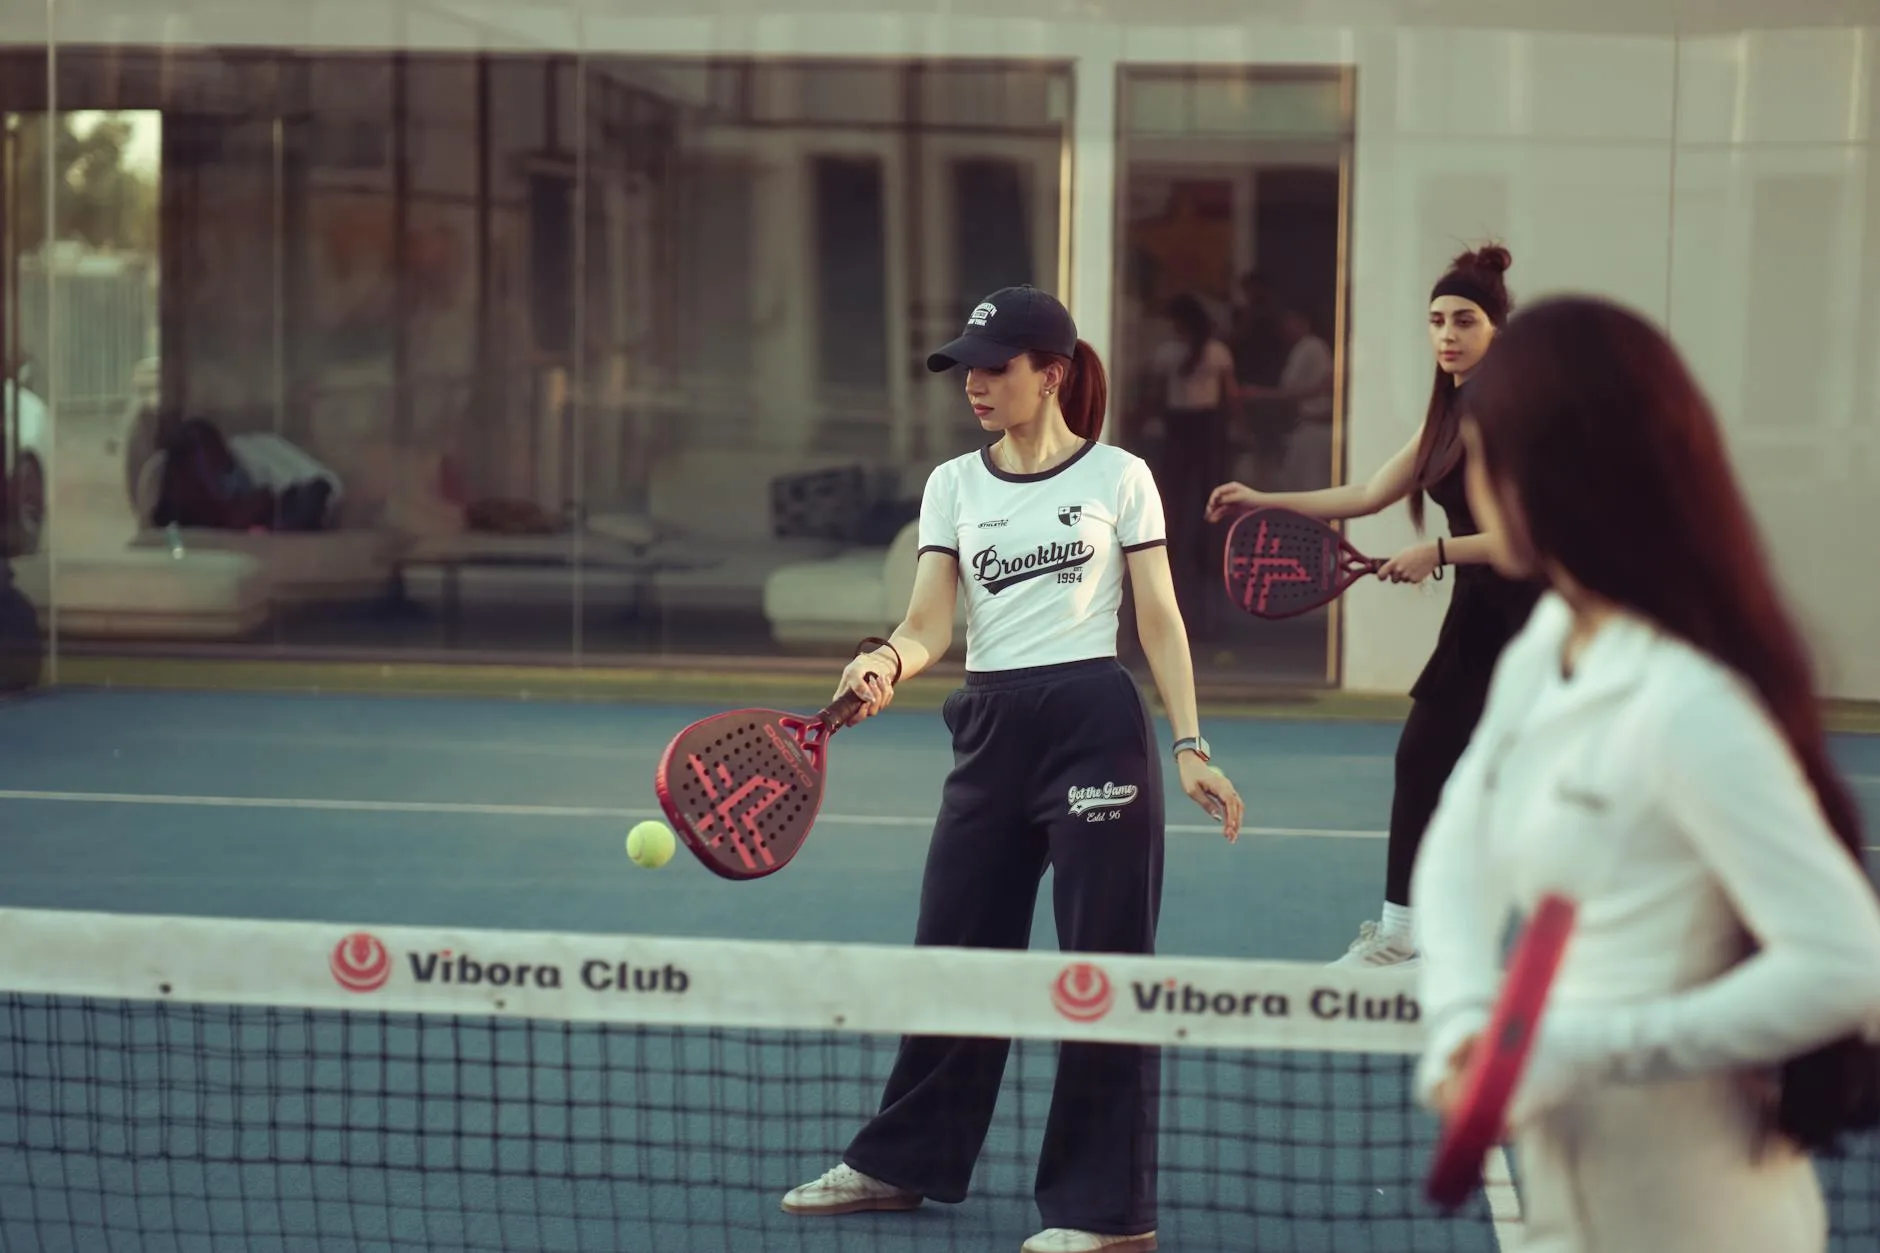
In tennis, you can get away with staying on the baseline all match. In padel, you can’t. The net position is where you control the point, and the volley is the shot that keeps you there. According to the Lawn Tennis Association’s padel section, the sport’s growth in the UK has been explosive since 2022, with over 200 courts now open — but the coaching hasn’t kept pace, and most players are teaching themselves bad habits at the net.
The padel court is smaller than a tennis court, the walls keep the ball in play, and rallies last longer. That means you will hit more volleys in a single padel match than most tennis players hit in a week. For many improving players, a month of focused volley practice delivers more visible progress than simply playing extra matches.
Why Club Players Struggle
Most beginners and intermediates have the same problem: they swing at volleys like groundstrokes. Big backswing, wrist flick, follow through. In padel, that’s a recipe for errors. The ball is slower (less pressurised), the racket face is solid with no strings, and the distances are shorter. Your volley needs to be compact, controlled, and deliberate.
The Net Position Advantage
When you and your partner control the net, you force the opposition to hit low, defensive shots or attempt risky lobs. The team at the net wins the point roughly 70% of the time at club level. Every improvement in your volley technique directly translates to winning more points.
The Continental Grip: Your Volley Foundation
If you’re using a forehand grip to volley, stop. Right now. The continental grip — where the base knuckle of your index finger sits on bevel 2 of the racket handle — is non-negotiable for consistent volleys.
How to Find It
- Hold the racket out in front of you with the edge facing the ground, like you’re hammering a nail
- Your V-shape (between thumb and index finger) should sit on top of the handle
- The face should feel slightly open when you hold it naturally
Why It Works for Padel
The continental grip lets you switch between forehand and backhand volleys without changing grip. At the net, you have fractions of a second to react. There’s no time to fiddle with your hand position. After six months of drilling with this grip, switching back to anything else feels like wearing oven gloves.
Body Position and Ready Stance
Your body position before the ball arrives matters more than what you do with the racket. The right stance makes volleys feel simpler because your weight, racket face and contact point are already organised before the ball reaches you.
The Ready Position
- Feet shoulder-width apart — slightly wider than feels natural
- Weight on the balls of your feet — never on your heels
- Knees bent — think “athletic position,” not “standing in a queue”
- Racket up in front of your chest — both hands on the racket, face pointing forward
- Elbows away from body — about a fist-width gap between your elbow and torso
Split Step Timing
The split step is a small hop that gets your feet moving. Time it to land just as your opponent makes contact with the ball. It sounds simple, but I see club players standing flat-footed at the net in every session. The split step is the difference between reacting and watching.
The Basic Forehand Volley
The forehand volley in padel is all about less. Less backswing, less wrist, less drama. The racket face does the work.
Step by Step
- Start in the ready position with the continental grip
- Turn your shoulders slightly to the right (for right-handers) — this IS your backswing
- Step forward with your left foot toward the ball
- Make contact in front of your body — your arm should be slightly extended, not jammed against your chest
- Punch through the ball with a short, firm movement — no follow-through beyond about 30 cm
- Return to the ready position immediately
Key Points
- Contact point: Always in front of your body. If the ball is level with your torso, you’ve left it too late.
- Racket face angle: Slightly open (tilted back about 10-15 degrees). This puts natural underspin on the ball, which makes it dip after clearing the net.
- Wrist: Firm. Locked. Not floppy. The wrist should feel like a steel rod connecting your forearm to the racket. Any wrist movement introduces inconsistency.
The Basic Backhand Volley
Most players find the backhand volley harder, but the technique is almost identical — just mirrored. The continental grip means you don’t need to change anything with your hand.
Step by Step
- From the ready position, turn your shoulders slightly left
- Bring the racket across your body — your non-dominant hand stays on the throat of the racket to guide it
- Step forward with your right foot (for right-handers)
- Punch through the ball with the same short, controlled motion
- Reset to the ready position
The Non-Dominant Hand
This is the secret weapon most club players ignore. Your left hand (for right-handers) should stay on the racket throat until just before contact. It provides stability, helps you track the ball, and prevents the common mistake of pulling the racket too far back.
Low Backhand Volleys
When the ball comes below net height on the backhand side, bend your knees deeper rather than dropping the racket head. If you drop the racket head, the ball pops up — and your opponents will punish you. Get down to the ball by lowering your whole body. For a related angle, see our How to Improve Your Padel Lob guide.
Common Volley Mistakes and How to Fix Them
After watching hundreds of club players at courts across London and the south-east, these are the five mistakes I see most often:
Taking Too Big a Backswing
The fix: stand one metre from a wall and volley against it. There’s physically no room for a big backswing. Do this for 10 minutes a day for a week and the muscle memory sticks.
Watching the Opponents Instead of the Ball
Your eyes should track the ball from the opponent’s racket to yours. Not the opponent’s body, not their movement, not their partner signalling. The ball. Nothing else.
Standing Too Close to the Net
Beginners crowd the net because it feels safer. But standing within a metre of the net means lobs go over your head and you can’t reach low balls. The ideal volley position is about 2-3 metres back from the net — roughly where the service line would be.
Flat Feet After the Split Step
The split step is pointless if you land and freeze. Your feet should keep moving — small adjustment steps to position yourself for the volley. Think of your feet as always tapping, never planting.
Trying to Hit Winners From Every Position
Not every volley needs to be a winner. A deep, controlled volley that pushes your opponents to the back wall is often more effective than trying to angle it into the corner. The best padel players win points through patient net play, not spectacular slams.
Advanced Volley Techniques
Once you’ve got the basics locked down — and I mean properly locked, not “I did it three times in practice” locked — there are techniques that’ll take your net game to another level.
The Drop Volley
Instead of punching through the ball, soften your grip at the moment of contact and let the ball die. The racket barely moves forward. The ball lands just over the net with no pace. This is devastating against opponents stuck at the back wall.
- Loosen your grip to about 50% of your normal firmness
- Meet the ball gently — imagine you’re catching an egg
- Let the racket absorb the pace rather than redirecting it
- Works best when your opponents are both behind the service line
The Bandeja Volley
The bandeja is a padel-specific overhead volley that slices the ball with side spin. It’s the bread-and-butter shot for defending your net position against lobs that aren’t high enough to smash. Our Padel Fitness: Exercises to Improve Your Game guide is useful alongside this.
- Contact the ball at head height or slightly above, to the side of your body
- Slice across and underneath the ball from right to left (for right-handers)
- The ball should travel with sidespin toward the glass wall
- Don’t try to hit it hard — the spin does the work
The Vibora
A more aggressive version of the bandeja, hit flatter and faster with heavy topspin. This takes months to develop properly. Don’t rush it — a bad vibora is worse than a solid bandeja.
Footwork Drills for Better Volleys
Good footwork is what separates confident net players from panicked ones. These drills improve the lateral movement and quick reactions you need.
The Ladder Drill
Use an agility ladder (about £15 from Decathlon) laid out lengthways:
- Quick feet through every box — two steps per box
- Exit the ladder and immediately take a volley from a partner
- 10 repetitions, rest 30 seconds, repeat 3 sets
The Cone Shuffle
Set up four cones in a square, about 2 metres apart:
- Shuffle laterally between the two front cones
- At each cone, shadow a forehand or backhand volley
- 30 seconds on, 15 seconds rest, 4 sets
The Reaction Ball Drill
Bounce a reaction ball (the lumpy, unpredictable ones — about £8 from Amazon UK) against the glass wall and try to catch it with your racket hand. This trains the fast-twitch reactions you need at the net. We found this noticeably improved reaction time after just two weeks of doing it before each session.
Wall Drills You Can Do Alone
You don’t need a partner or even a court for these. Any flat wall works — your garage, a squash court wall, or a local sports centre wall.
Close-Range Rapid Fire
- Stand 1.5 metres from the wall
- Hit continuous forehand volleys, keeping the ball going without stopping
- Aim for 30 consecutive contacts
- Then switch to backhand
- Then alternate forehand/backhand
Distance Control
- Start 1 metre from the wall, volley 10 times
- Step back to 2 metres, volley 10 times
- Step back to 3 metres, volley 10 times
- This teaches you to adjust your touch based on distance
Target Practice
- Mark a spot on the wall with tape at net height (about 88 cm from the ground for padel)
- Hit 20 volleys trying to hit the target
- Track your accuracy over sessions — you’ll see the improvement within a week
Partner Drills for Match Sharpness
These drills simulate real match situations and are the fastest way to improve once your technique is solid.
The 2-on-1 Net Drill
- Two players at the baseline feed balls alternately to one player at the net
- The net player volleys each ball back, alternating between forehand and backhand
- 2 minutes on, then rotate
- This is exhausting but remarkably effective for building volley stamina
Cross-Court Volley Rally
- Both players at the net, volleying cross-court
- Keep the rally going — count how many you can reach
- Aim for 20+ consecutive volleys
- Forces you to control direction and depth under pressure
The Lob-and-Volley Sequence
- Your partner feeds a lob, you hit a bandeja or vibora
- They return a low ball, you hit a conventional volley
- Repeat for 10 sequences
- Mirrors the most common net play pattern in real matches
Choosing a Racket That Helps Your Volley
Not all padel rackets are created equal, and your racket choice directly affects your volley performance. Shape matters for net play because it changes sweet-spot size, manoeuvrability and how forgiving the racket feels on quick reactions.
Round Shape for Control
Round rackets have the sweet spot in the centre, which gives you more forgiveness on off-centre hits. For players who volley a lot, a round shape like the Bullpadel Vertex or Head Alpha Pro is ideal. They typically weigh 355-375g and cost £80-150.
Soft vs Hard Foam
- Soft foam (EVA Soft): More feel and touch on volleys. Better drop volleys. Less power on drives.
- Hard foam (EVA Hard/Black EVA): More power and pop. Less control on delicate shots.
For improving your volley, soft foam wins. The extra touch makes it easier to control the ball at close range. The trade-off is less power from the baseline, but if you’re focused on net play, that’s a deal worth making.
Weight and Balance
Lighter rackets (under 365g) are easier to manoeuvre at the net. Head-light or evenly balanced rackets respond faster to quick directional changes. A head-heavy racket might give you more power on smashes, but it’ll slow your reflex volleys — and at the net, speed is everything. Check our guide to choosing a padel racket for more detail.
When to Volley vs When to Let the Ball Bounce
This is the tactical side of volleying that nobody teaches. Knowing when NOT to volley is just as important as the technique itself.
Always Volley When
- The ball arrives between knee and shoulder height at the net
- You’re in a strong position (balanced, ready, at the ideal distance from the net)
- Your opponents are both at the back wall — a deep volley keeps them pinned
Let It Bounce When
- The ball is below knee height and still falling — a half-volley is risky when a controlled bounce shot is safer
- A lob is going to land behind you — chasing it and hitting an overhead off the back glass is usually better than trying an awkward high volley
- You’re off-balance — a poor volley is worse than stepping back and taking the ball after the bounce
Reading the Ball Off the Glass
One thing unique to padel: after the ball bounces off the back or side glass, it often sets up perfectly for a volley from mid-court. Learning to read the angles off the glass — something that takes months of play to develop — lets you pick off balls that less experienced players let go. If you’re not sure about glass angles yet, check our padel court dimensions guide for the basics.
Frequently Asked Questions
How long does it take to develop a consistent padel volley? Most players see noticeable improvement within 4-6 weeks of focused practice (3 sessions per week with dedicated volley drills). The technique itself is simple enough to learn — it’s the consistency under match pressure that takes time. After about 3 months of regular practice, the volley should feel automatic rather than forced.
Should I use the same grip for volleys and groundstrokes in padel? The continental grip is ideal for volleys because it works for both forehand and backhand without switching. For groundstrokes, many players prefer a slightly different grip (semi-western for forehand). The key is drilling the grip change so it becomes unconscious — you shouldn’t be thinking about your grip mid-rally.
What’s the best way to practise volleys without a partner? Wall drills are your best option. Stand 1-2 metres from any flat wall and hit continuous volleys, alternating forehand and backhand. Aim for 30+ consecutive contacts. A reaction ball (about £8 from Amazon UK) bounced off a wall is also excellent for training reflexes. Both drills are more effective than most partner drills for pure repetition.
Why do my volleys keep going into the net? Three common causes: your racket face is too closed (angled downward), you’re making contact too late (ball is level with or behind your body), or you’re not stepping forward into the volley. Try exaggerating the open racket face and stepping forward with every volley for a practice session — most players find the problem corrects itself quickly.
Is it better to punch or slice padel volleys? A punched volley with slight underspin is the standard technique and works in most situations. The slice (cutting under the ball more aggressively) is useful for drop volleys or when you want to take pace off the ball. Start with the punch volley until it’s automatic, then add the slice as a variation. Trying to learn both simultaneously usually results in neither being reliable.